Lighting is required for virtually every scene you will want to 'render' in Blender. Initially, you're given one 'point' type lamp when you open blender (unless you've changed the opening scene). When viewing your scene in the OBJECT or EDIT modes, the lighting that you use has no effect. Rendering, is different in that respect.
When using 3D software, the rendering (final image/animation preview) takes into account the position of objects and the lighting so that the path of the light can be computed and the various objects lit properly and the proper shadows cast. Not all rendering is the same. The default render engine in Blender is Blender Render. The selection menu for the render options can be seen very near the top of the window below. Blender Render is old and may not be perfect but the other option is 'Cycles Render'. It's supposed to be more accurate but... Well, it's different. It's much slower so you have to decide which you want to use. For the beginner, Blender Render is likely the best option.
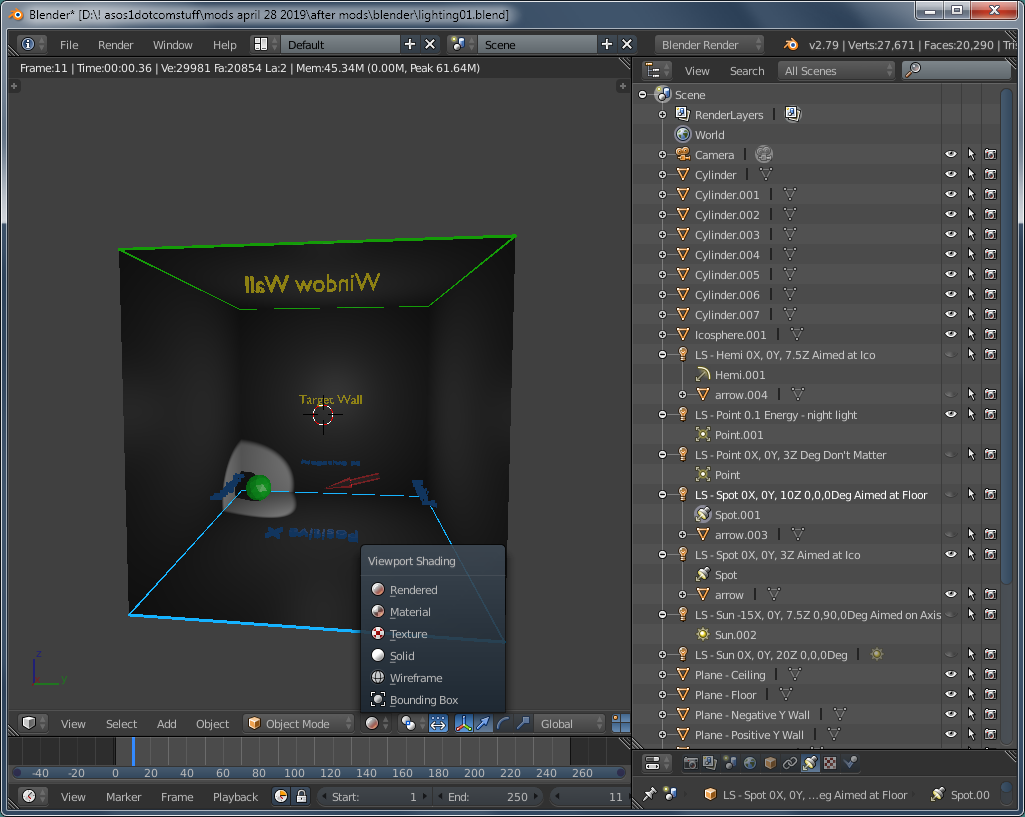
In the following image, you can see the shading menu open. Here, you will often choose only SOLID or WIREFRAME. Another option is RENDER. In the two previous modes, the movement (orbit, zoom...) when changing your viewpoint is essentially instantaneous. In render mode, the movements are choppy, take more time to settle and use more horsepower from your computer. In the Cycles Render mode, it can take minutes for a relatively simple image to finalize. Blender Render is sufficient for most of what the beginner will need so except for Using Cycles to see how it differs, there isn't much point in a novice using it.

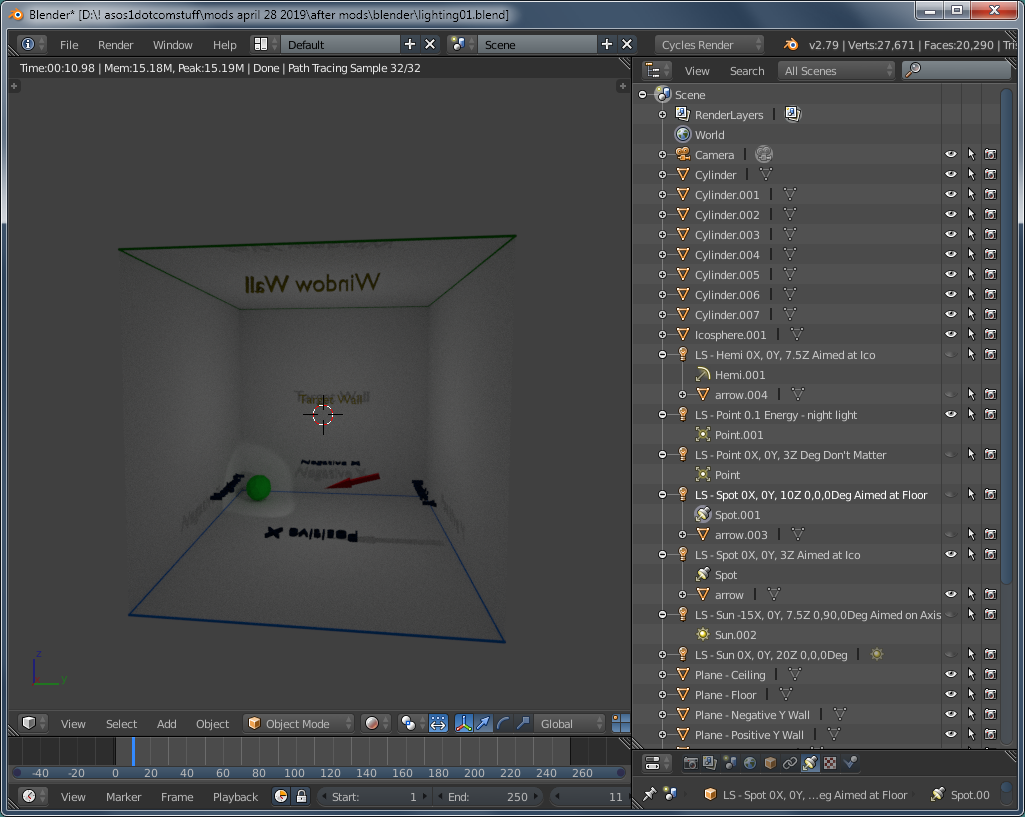
As an example, the image above is the lighting01.blend file rendered with Blender Render. The one below, with Cycles Render. You can see how they differ. The rendering time for the image is given at the top of the 3D workspace. The time to render the top image was less than 1/2 second. The bottom, about 11 seconds. One more thing you should consider is the heat produced by your computer's processor. Whether it's the CPU or the GPU doing the work, they're going to produce much more heat with Cycles rendering. If the computer is properly designed, running it for extended periods at 100% duty cycle won't be an issue but it will stress components more than normal. Next, onto light sources.

There are 5 types of light sources readily available in Blender. Below are there general characteristics. Understand that there are differences in the light properties in the two rendering engines. These are mainly for Blender Render.
-
Light Distribution by Lamp/Source Type
-
This light source produces parallel rays. There is no spreading of the light. If you have it above a 'room' like the one here facing straight down, it will produce no light on the walls.
-
The distribution from this light is 180° up/down/left/right in front of the light. Nothing is produced behind the light.
-
The Hemispherical light is mostly out front light. Most of the other lighting choices give options for the types of shadows. There are no such options for the Hemi light source.
-
This is what you'd expect. A couple of options is to make the output more diffused and to change the shape of the globe/shade from round to square.
-
This light will produce illumination in all directions. The 'night light' provided in the lighting01.blend file is a low energy version of this type of light source.

-
THIS is the file that is to be used with the following notes.
-
There are 5 types of light sources in the center of the 'room'.
-
You can turn them on and off in the outliner. Expand the outliner window to the left to be able to read the full descriptions. To hide the various walls, it's best to do it in the outliner, individually. The 'Plane - Window Wall' is already switched off (notice that the eye icon is not on). Highlighting a wall and then clicking the 'H' key (HIDE) may be quicker but if you use the UNDO for HIDE, ALT-H, you will turn on all light sources AND all walls (makes a mess). You can do it either way but individually switching them on is better.
-
Initially, only the 'LS - Point 0.1 Energy - night light' is on. It's there to prevent the room from being pitch black except for the objects which glow slightly. Turn it off to see the effect. Leaving it on has no effect on the other lighting so you can leave it on.
-
The Blue and green tubes are to help you keep oriented. Remember that blue is on the floor and green is on the ceiling.
-
To make the light sources easier to find in the outliner, click the line that the light source is on, to the right of the text for that light. Clicking the vacant area toggles the color light/dark. If you click the text, you will cause the properties to change to that light and cause that light to be selected/active. This can be confusing if you're trying to move a visible light with the text fields while in render mode. The text fields apply to the active object/light source, not the visible one.
-
For light sources that have direction, there is an arrow behind them, indicating which way they're pointing. To switch off both the light source AND the arrow that accompanies it, together. hold down the CTRL key while clicking the light source's eye icon. If you don't hold the CTRL key down, only the object you're switching (not the 'children') will be switched off/on.
-
The arrow shows the direction of the lighting, for the light sources that are directional. It also casts a shadow but can do some strange things as well. Use them when you're adjusting the position or rotation of the light source. Remember that you can turn the arrows (or anything else) off and on (toggle 'eye' icon on/off).
-
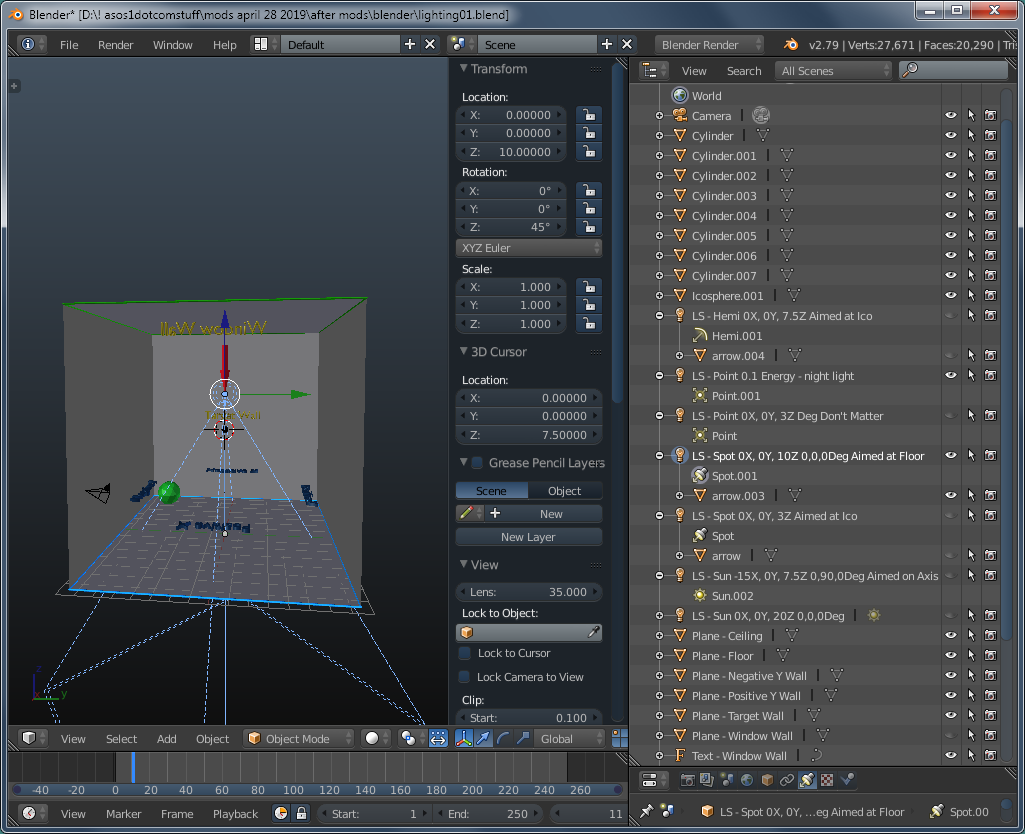
The view is locked to the cursor which is located at the light position of the night light. This allows you to see all around without getting too far off course when panning and zooming. If, for some reason, the 3D cursor isn't on the night light, make only the night light visible and select it. Use the snap feature (SHIFT-S), choosing CURSOR TO SELECTED. If the view isn't locked to the cursor, in the N-panel, find the VIEW section and tick the LOCK TO CURSOR option.
-
Notice how the light is distributed to the front rear and sides of the room.
-
To start, you need to go into the simple render mode (SHIFT-Z). Use your mousewheel to scroll/fly into the room, to just behind the arrow. With the view locked to the cursor (link), you can easily orbit around to look at the walls to see the light distribution.
-
Most all of the following is done in the simple render mode so you can see the lighting, which isn't shown in normal mode.
-
If you select the light you're checking in the outliner, you can use the text fields in the N-panel to adjust angles, position and height (mostly angles). The Z-axis rotates the light around the room.
-
The 'F12' render (ESC exits the F12 render view) is different than the render mode where you can move around (SHIFT-Z). It renders the image from the active camera location.
Back to the Top


