 |
| Email Home Page |
 |
| Email Home Page |
|
|
|
Iron/Open Sights:
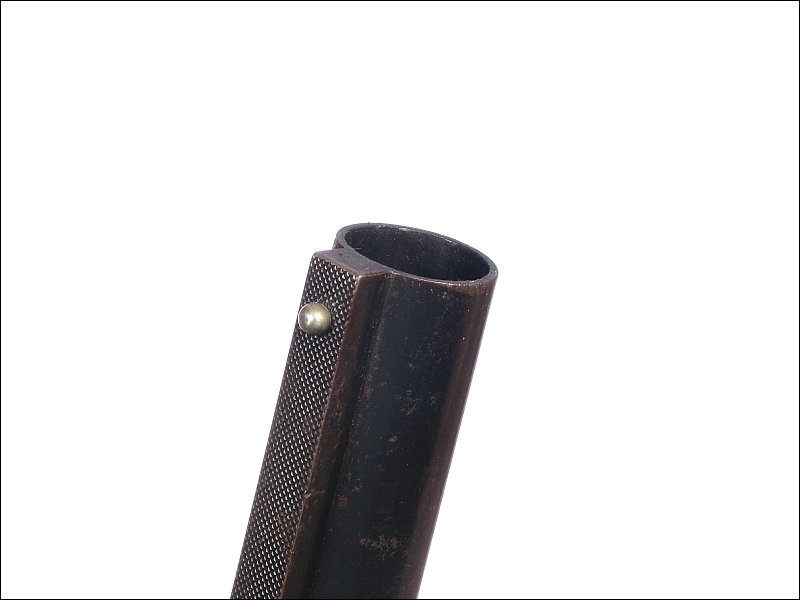 For guns that require a bit more precise aiming, you may find the type of sight seen below. For these, you align the front and rear sights on the target. These can be accurate but if your eyesight isn't great, they may be difficult to use. They also take a bit of practice because at no point will both sights and the target be in sharp focus (your eyes can't focus on three different distances at once.
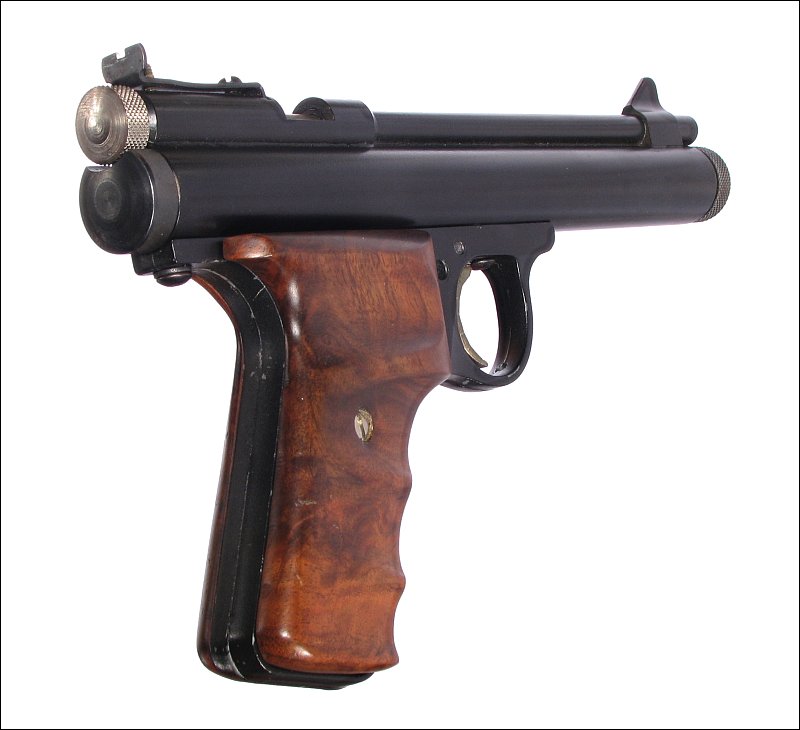 The demo below provides a bit more information on the use of these sights. It's from my Air Rifle web site.
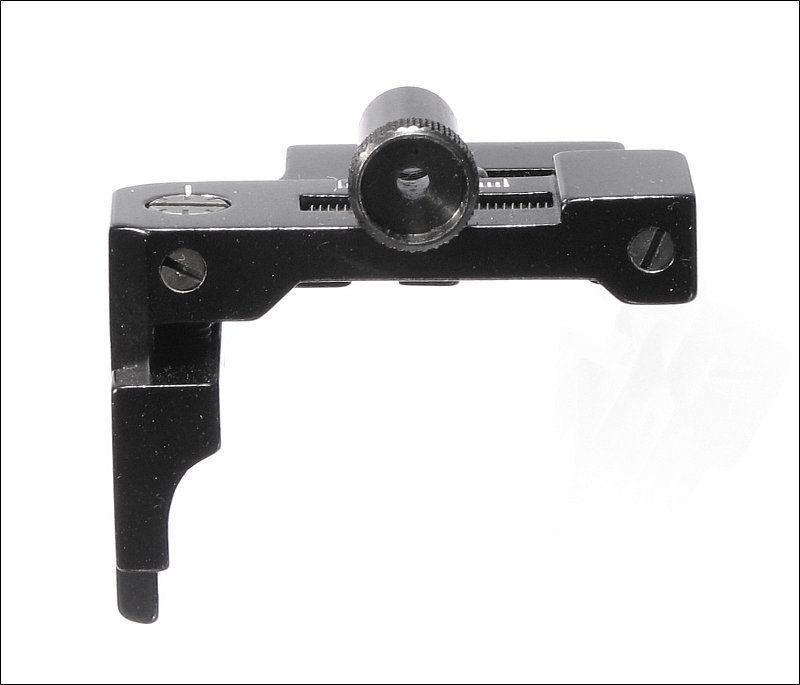
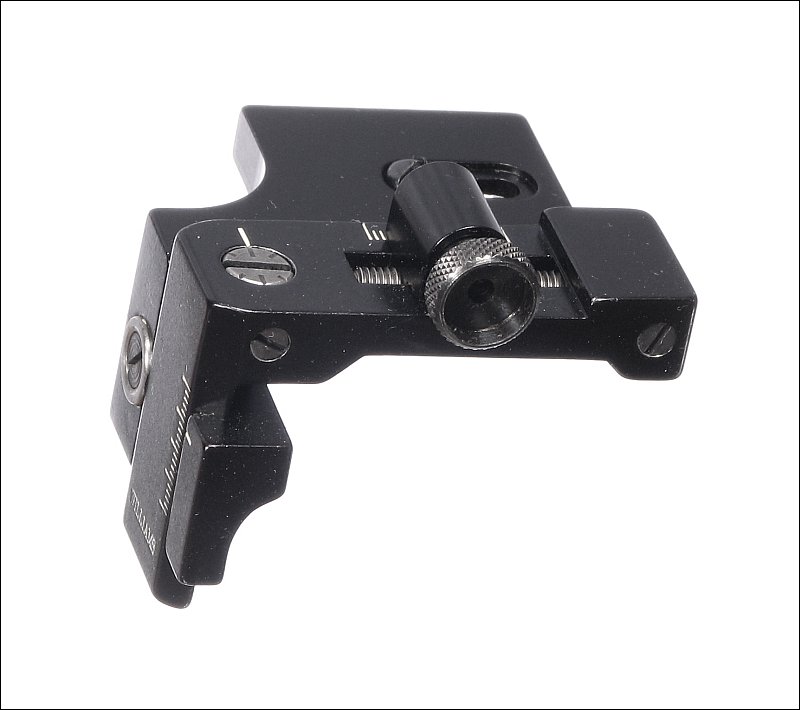
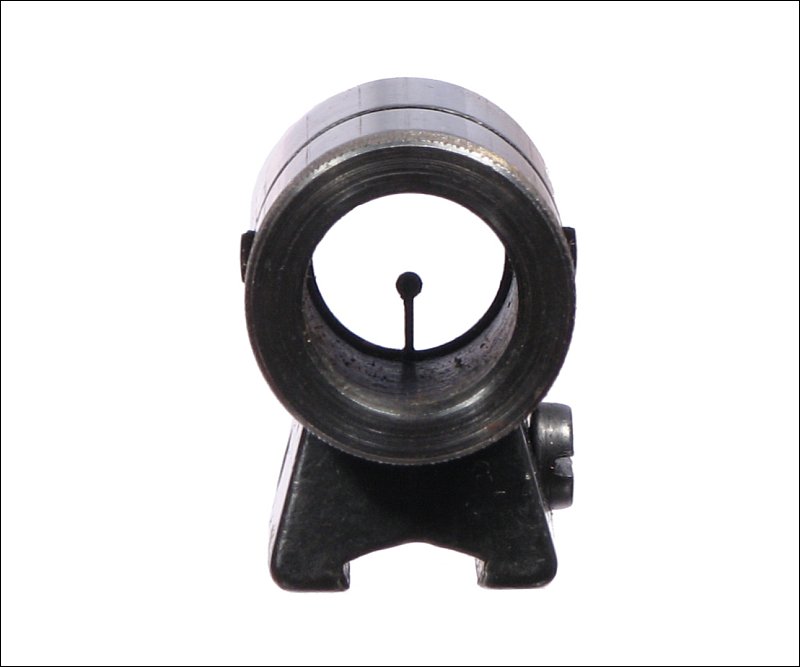
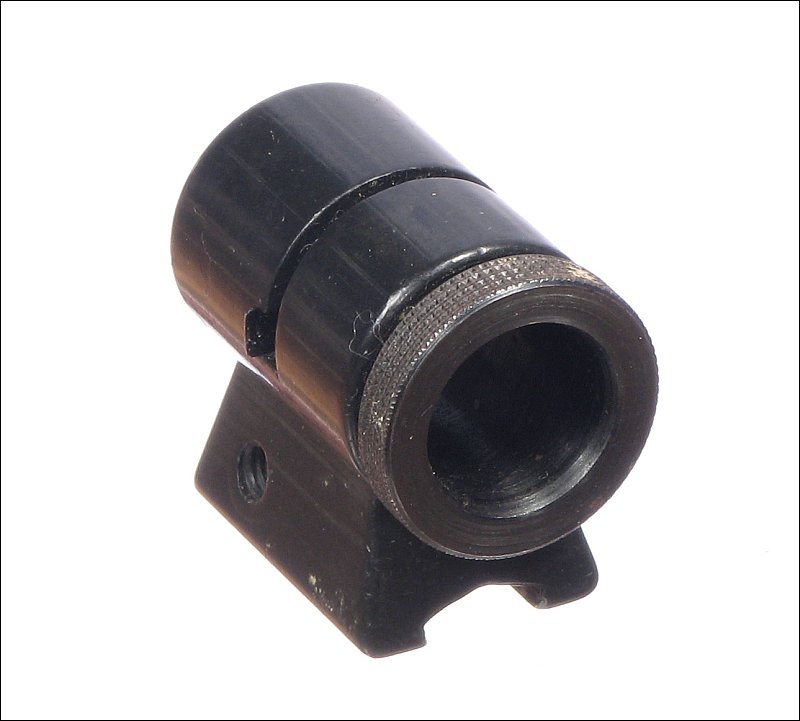
Another type of sight is the 'peep' sight. After you learn to use them, these tend to be a bit easier to use than open sights. The next two images show the rear part of the sight. You look through the 'aperture' and center the bead on the front sight in the aperture. Like open sights, the two sights won't be in clear focus. With practice, you'll learn to center the front sight (focal point) in the fuzzy rear aperture. The rear aperture is typically selected for the type of shooting you'll be doing. For precision shooting, you'd select a smaller aperture. For hunting, a larger aperture would allow quicker target acquisition.
 The next two photos show the front sight. These can vary greatly. Many allow you to change the front bead/post.
Telescopic Sights:
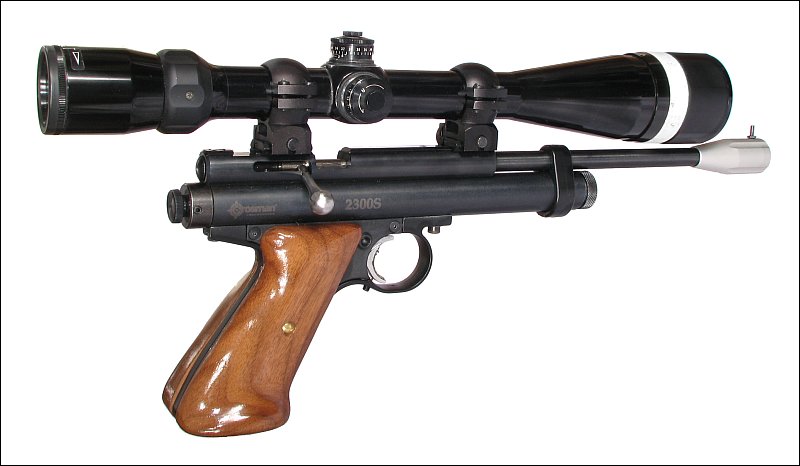 In the image above, you can see that there are two 'turrets' that allow you to adjust the scope. The top turret allows you to adjust for elevation (up and down). The side turret allow you to adjust for windage (left and right). Generally these are set and covers are screwed onto them to prevent the setting from being changed and in some instances to make the scope fully waterproof. When choosing a scope, you have to choose one with the correct 'eye relief'. The eye relief is the distance between the eyepiece (ocular lens) of the scope and your eye where you can get a clear image of the reticle (crosshairs in the scope that you center on the target). For rifles, the eye relief is relatively short because your eye will be nearly touching the eyepiece. For other applications (like for use on a pistol, or what's referred to as a 'scout rifle'), the eye relief must be greater because the scope won't be near your eye. When trying to select a scope, you will see that there is a huge difference between the cost for scopes that appear to have similar specifications. The optical quality is one deciding factor. Cheap scopes will typically have distortion, low contrast (appears cloudy) and will be blurry around the perimeter of the image. Higher quality scopes will have glass that produces an image that rivals the best camera lenses. Light transmission is another factor. If you're going to be using the scope when hunting in low light conditions, you'll want a scope with higher light transmission. This will typically mean will be a more expensive scope. Reliability is another factor. Most scopes are designed to withstand recoil of normal firearms (back, into your shoulder). You've likely read/heard that there are scopes that are rated for air rifles. It may seem ridiculous that a scope that can withstand the recoil of a high-powered hunting rifle couldn't survive the recoil of an air rifle. The problem is with 'spring powered' air rifles (not PCP, CO2 or pump pneumatics). A spring powered air rifle has a reverse recoil as the piston decelerates at the end of its stroke. Scopes aren't generally designed to withstand this and can fail (generally parts inside the scope break loose). Better scopes will typically hold their 'zero' better than cheap scopes after the gun is fired repeatedly. In most scopes, the turret screws simply push against a spring to keep the internal components in place. Some of the more expensive scopes have a secondary screw that pushes against the internal components (a bit like the springs do). This serves to lock the internal components tightly so that the zero can't shift.
Red Dot Sights:
Reflex Sights:
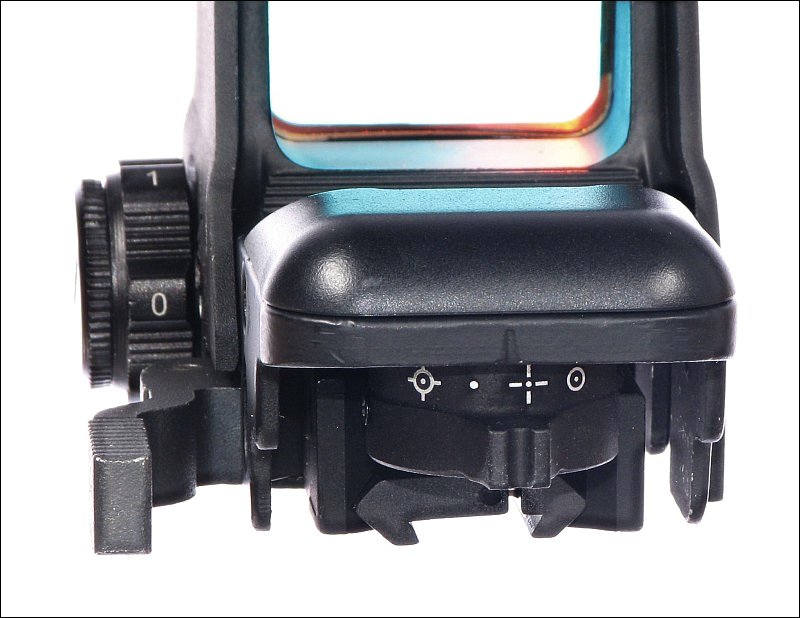
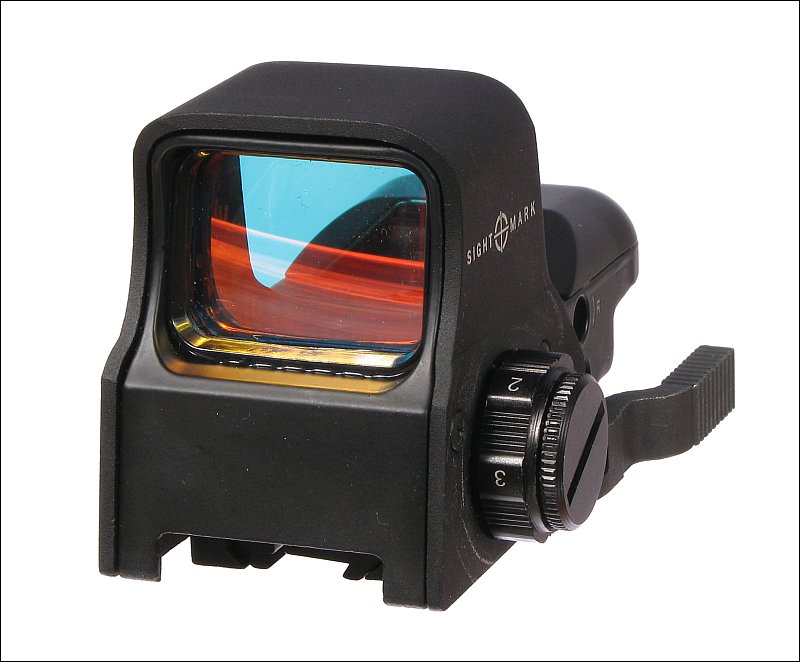 Some reflex sights have only 1 type of reticle. The one below has 4 different reticles. The problem with this is that you have to re-zero the sight if the lever is moved (accidentally or intentionally to change the reticle). This sight has 3 level settings (brightness) as well as two night-vision settings. The night-vision settings are essentially invisible to the naked eye and are intended to be used with a night-vision scope that would be mounted behind the reflex scope.
Laser Sights:
|
||||
|
|
||||